 Skip to content
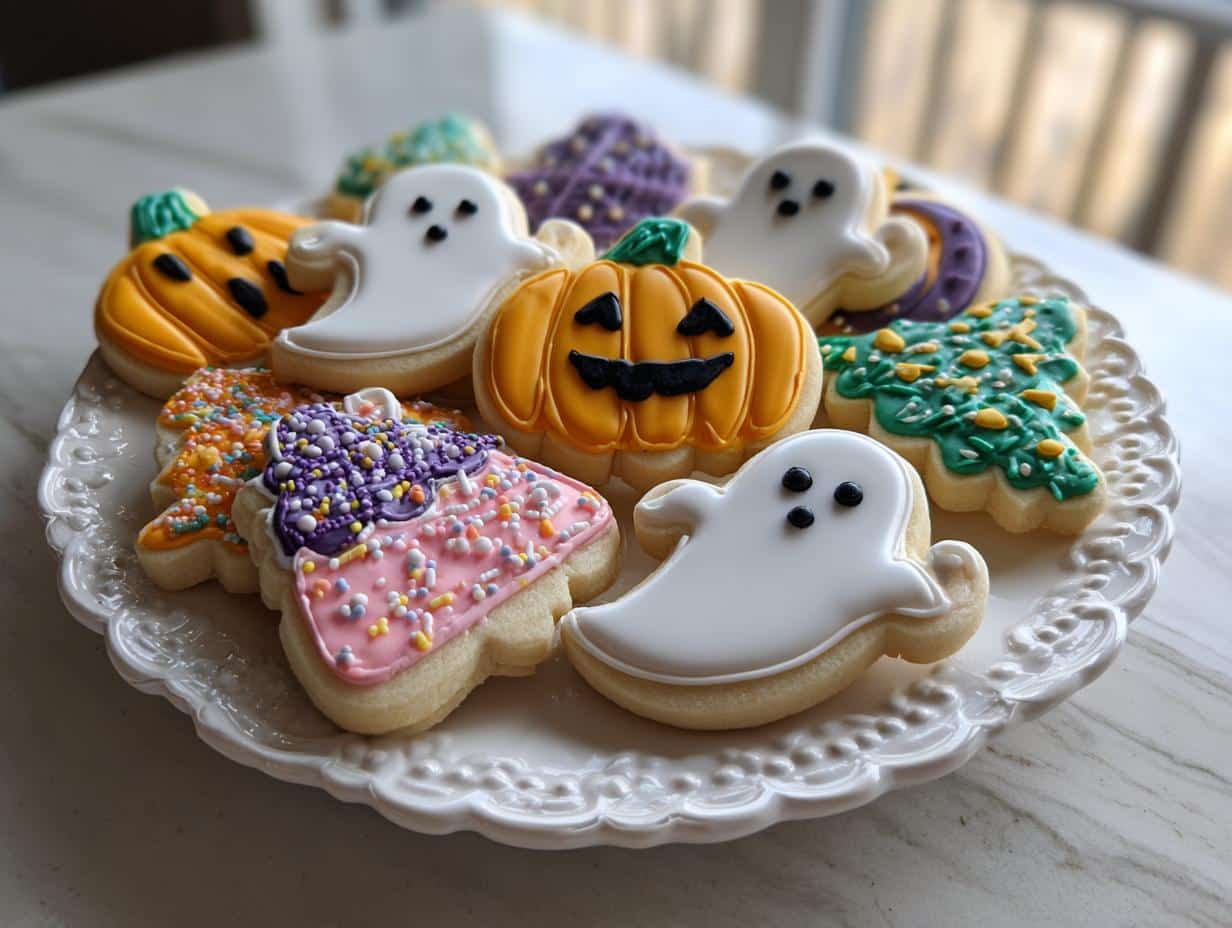
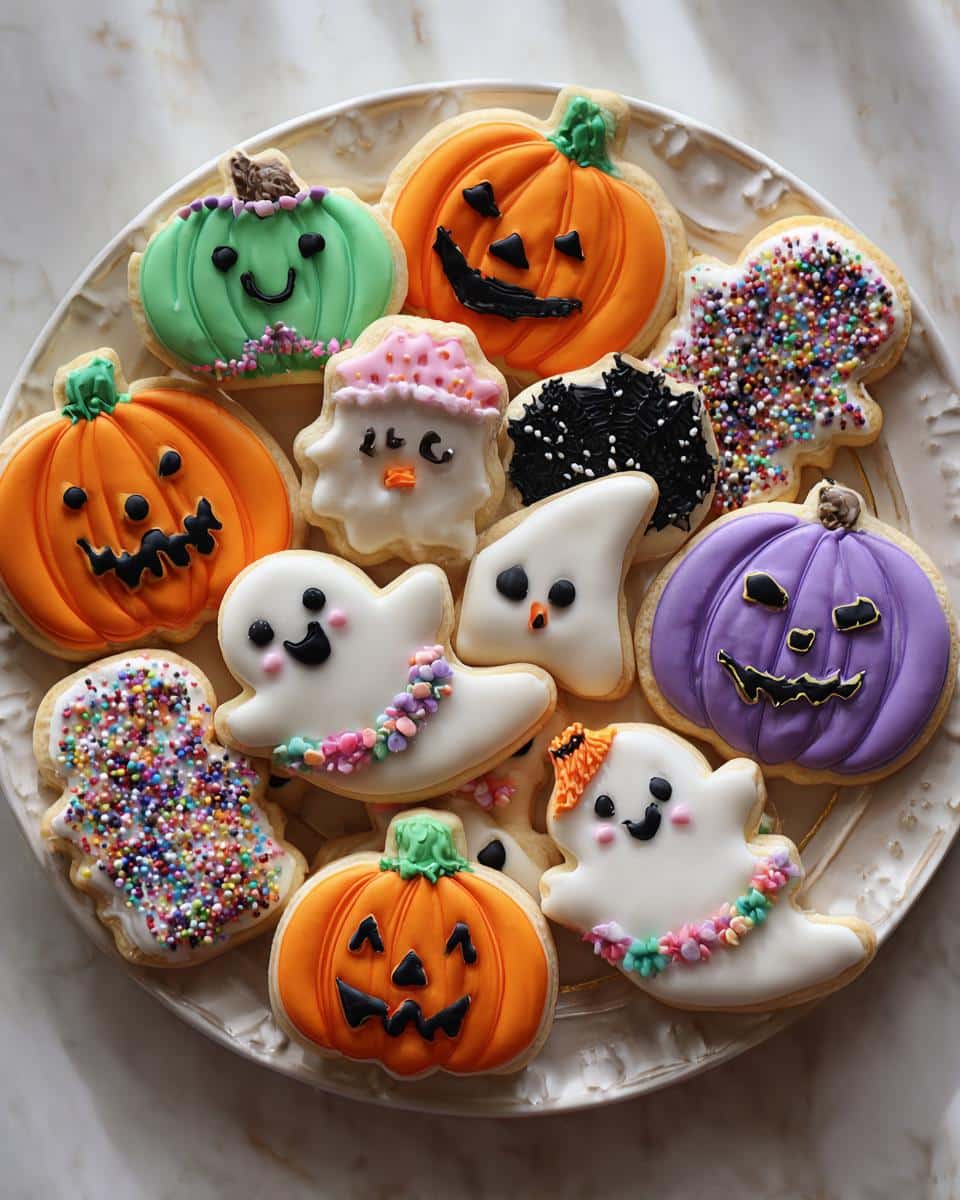
Alright, get ready to dive into the most fun baking of the year! If you’re anything like me, your kitchen transforms into a spooky wonderland as soon as October hits, and that means it’s time for some seriously awesome Halloween Cookies. These aren’t just any cookies, though. They’re the kind that make your eyes light up, perfect for parties, trick-or-treaters, or just because you deserve a treat! What I love most is how surprisingly easy they are to whip up. You don’t need to be a master decorator to make these look amazing, and that’s exactly why they’ve become a go-to in my house for all our Halloween get-togethers. Let’s get baking!
Essential Ingredients for Your Halloween Cookies
Okay, so to get these awesome Halloween cookies made, you’ll need a few things. Don’t worry, most of it is probably already in your pantry! We’re going for that perfect balance of a slightly crisp edge and a soft, chewy center that just melts in your mouth. Trust me, using the right stuff makes all the difference, especially when it comes to getting that perfect texture and that festive look we’re going for. Let’s break down what you’ll need:
Flour, Leavening, and Salt for Halloween Cookies
First up, we need our dry base. You’ll want 2 and 1/2 cups of good old all-purpose flour. Then, we’ve got 1 teaspoon of baking powder to give them a little lift, and just half a teaspoon of salt to really make all those flavors pop. These guys are the backbone of our cookie!
Creaming the Foundation: Butter and Sugar for Halloween Cookies
Now for the magic! You’ll need 1 cup of unsalted butter, and it’s super important that it’s softened. Not melted, but soft enough that you can easily press your finger into it. We’ll cream this with 1 and 1/2 cups of granulated sugar. This step is key for getting that lovely texture!
Binding and Flavoring Your Halloween Cookies
To bring it all together, we need 2 large eggs. Make sure they’re at room temperature if you can! And for that classic sweet cookie flavor, a teaspoon of pure vanilla extract is a must. It just makes everything taste so much better.
Adding Festive Halloween Colors
This is where the fun really starts! Grab some food coloring. We’ll need orange, black, and green to get those classic Halloween vibes going. You can get gel or liquid, whatever you have on hand!
Decorations for Your Spooky Halloween Cookies
And of course, we need to make them look spooky! You’ll want some icing – either store-bought or homemade. Then, go wild with sprinkles, candy eyes, edible glitter, or whatever else makes your Halloween cookies extra special and unique!
How to Prepare Perfect Halloween Cookies
Alright, let’s get these spooky treats made! It’s easier than you think, and honestly, the fun is in the making. We’ll go through it step-by-step, and before you know it, you’ll have a whole batch of awesome Halloween cookies ready to impress everyone.
Mixing the Halloween Cookie Dough
First things first, grab a big bowl. Cream together that softened butter and granulated sugar until it’s nice and fluffy – think pale yellow and airy. Then, beat in your two eggs, one at a time, making sure each one is mixed in before you add the next. Stir in that teaspoon of vanilla extract. In another bowl, give your flour, baking powder, and salt a quick whisk together. Now, slowly add this dry mix to your wet ingredients, mixing on low speed or with a spatula until it’s *just* combined. Seriously, don’t overmix it; we want tender cookies!
Chilling and Shaping Your Halloween Cookies
This is a super important step, trust me! Divide your dough into a few portions and add your food coloring – get creative with orange, black, and green! Knead it in gently until you get those vibrant Halloween colors. Then, flatten each colored portion into a disk, wrap it up, and pop it in the fridge for at least 30 minutes. This makes the dough so much easier to handle and prevents the cookies from spreading too much. Once chilled, lightly flour your counter, roll out the dough to about 1/4 inch thick, and use your favorite Halloween cookie cutters. Think pumpkins, ghosts, bats – whatever screams Halloween to you!
Baking Your Festive Halloween Cookies
Make sure your oven is preheated to 350°F (175°C). Line your baking sheets with parchment paper; it makes cleanup a breeze! Carefully place your cut-out cookies onto the prepared sheets, leaving a little space between them. Bake them for about 8 to 10 minutes. You’re looking for the edges to be just lightly golden. They’ll continue to cook a bit on the hot baking sheet, so don’t overbake them, or they’ll get too crispy.
Cooling and Decorating Your Halloween Cookies
Once they’re out of the oven, let them cool on the baking sheet for a couple of minutes before transferring them to a wire rack to cool completely. This is crucial – decorating warm cookies is a melty disaster waiting to happen! Once they’re totally cool, let your inner artist shine! Use your icing to draw spooky faces, cobwebs, or just create a colorful base. Add sprinkles, candy eyes, or edible glitter. This is where the DIY Halloween cookie decorating really comes to life!
Tips for Success with Halloween Cookies
Making these Halloween cookies should be a blast, but a few little tricks can make them even more perfect. Honestly, these tips have saved my baking life more than once! They help ensure your cookies turn out beautifully, taste amazing, and are just plain fun to make and share.
Handling and Rolling the Dough
If your dough feels a bit sticky, don’t be afraid to add a tiny bit more flour when rolling, or just pop it back in the fridge for another 10-15 minutes. Chilling is your best friend here! Also, try to roll your dough to an even thickness so all your cookies bake up the same. Nobody likes a burnt edge and a doughy center!
Achieving Even Baking for Halloween Cookies
Make sure your oven rack is in the center of the oven. If you’re using multiple baking sheets, rotate them halfway through baking. This helps ensure all your spooky Halloween cookies get evenly baked and turn out that perfect golden brown, not too dark on one side. And remember, they continue to bake a little after they come out, so pull them when the edges are *just* starting to turn golden.
Creative Decorating Ideas for Spooky Halloween Cookies
Don’t stop at basic icing! You can use black icing to draw spiderwebs, then add a little candy spider. Green icing can be swirled for a “monster goo” effect, and orange is perfect for pumpkin faces. Don’t forget candy corn sprinkles or edible googly eyes for instant spooky characters! The possibilities for DIY Halloween cookie decorating are endless!
Frequently Asked Questions About Halloween Cookies
Got questions about whipping up these spooky Halloween cookies? I’ve got you covered! People always ask me about making them ahead or changing things up, so let’s dive into some of the most common ones. These tips should help make your Halloween baking even smoother!
Can I make these Halloween cookies ahead of time?
Oh, absolutely! You can make the dough, color it, and then wrap each portion tightly and keep it in the fridge for up to 3 days. You can also bake the cookies and store them in an airtight container for a few days before decorating them. It’s a great way to spread out the fun!
How do I store leftover Halloween cookies?
Once your cookies are completely cooled and decorated, store them in an airtight container at room temperature. If you’ve used a cream cheese frosting or anything that needs to stay cold, pop them in the fridge. They usually stay fresh and delicious for about 3-4 days. Just try not to stack them too high so the decorations don’t get smushed!
What are some variations for these Halloween cookies?
You can totally play around with these! For a pumpkin spice cookie, add about a teaspoon of pumpkin pie spice to the dry ingredients. Or, swap some of the vanilla for almond extract for a different flavor. For gluten-free Halloween cookies, just use a good quality gluten-free all-purpose flour blend in place of the regular flour. You can also use different food coloring combinations or even add a swirl of chocolate icing!
Just a little note about the nutrition info you might see for these Halloween cookies: it’s all an estimate, really! The exact numbers can change depending on the brands of ingredients you use, like the butter or sprinkles. So, think of those figures as a general guide rather than exact science. Enjoy your spooky treats!
Share Your Spooktacular Halloween Cookies!
Okay, now it’s YOUR turn to get creative! I can’t wait to see what amazing Halloween cookies you all come up with. Did you try out a super cool decorating idea? Maybe you found a new favorite spooky shape? Drop a comment below and tell me all about your baking adventure! I’d love to hear your favorite decorating tips or even see a picture if you can share one. Happy baking, and have a spooktacular Halloween!
Print
Spooktacular Halloween Cookies: 10 Easy Fun Recipes
- Total Time: 40 minutes
- Yield: 24 cookies 1x
- Diet: Vegetarian
Description
Easy and festive Halloween cookies perfect for parties and seasonal celebrations. Get creative with decorating ideas and themed treats.
Ingredients
- 2 1/2 cups all-purpose flour
- 1 teaspoon baking powder
- 1/2 teaspoon salt
- 1 cup (2 sticks) unsalted butter, softened
- 1 1/2 cups granulated sugar
- 2 large eggs
- 1 teaspoon vanilla extract
- Food coloring (orange, black, green)
- Decorating supplies (icing, sprinkles, candy eyes)
Instructions
- Cream together butter and sugar until light and fluffy.
- Beat in eggs one at a time, then stir in vanilla extract.
- In a separate bowl, whisk together flour, baking powder, and salt.
- Gradually add dry ingredients to wet ingredients, mixing until just combined.
- Divide dough and tint with desired Halloween colors.
- Chill dough for at least 30 minutes.
- Roll out dough and cut into shapes.
- Bake at 350°F (175°C) for 8-10 minutes, or until edges are lightly golden.
- Cool completely on wire racks.
- Decorate with icing, sprinkles, and other festive toppings.
Notes
- Chill dough for easier handling.
- Use cookie cutters in Halloween shapes like pumpkins, ghosts, and bats.
- Experiment with different frosting colors and edible decorations.
- For gluten-free options, substitute with a gluten-free all-purpose flour blend.
- Prep Time: 30 minutes
- Cook Time: 10 minutes
- Category: Dessert
- Method: Baking
- Cuisine: American
Nutrition
- Serving Size: 1 cookie
- Calories: 150
- Sugar: 12g
- Sodium: 50mg
- Fat: 8g
- Saturated Fat: 5g
- Unsaturated Fat: 3g
- Trans Fat: 0g
- Carbohydrates: 18g
- Fiber: 1g
- Protein: 2g
- Cholesterol: 25mg
Keywords: Halloween Cookies, Halloween cookie recipes, spooky Halloween cookies, easy Halloween treats, Halloween sugar cookies, pumpkin spice cookies, DIY Halloween cookie decorating, Halloween party snacks, cute Halloween cookie ideas, gluten-free Halloween cookies, Halloween cookie decorating tips